
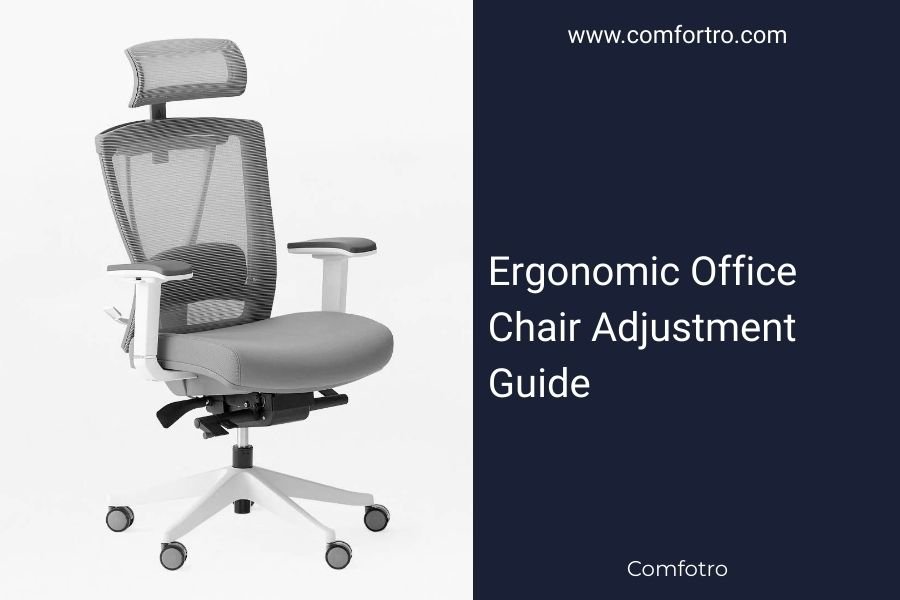
Proper ergonomic office chair adjustment involves setting seat height so your feet rest flat on the floor, adjusting backrest to support your lower back’s natural curve, and positioning armrests at elbow height.
Most office workers skip these basic ergonomic office chair adjustment steps, leading to back pain and poor posture that could be easily prevented with the right setup.
Your office chair is like a foundation for your entire workday. Get it wrong, and everything else suffers. Your back aches, your shoulders tense up, and productivity takes a hit.
I researched workplace ergonomics extensively and found that simple chair adjustments can prevent 60% of office-related discomfort. The good news? You don’t need an expensive chair to feel comfortable. You just need to know how to work with what you have.
Why Chair Adjustment Matters More Than You Think
Poor chair setup creates a domino effect. When your chair is too high, your feet dangle. When it’s too low, your knees shoot up awkwardly. Either way, your spine pays the price.
Research from the Occupational Safety and Health Administration shows that proper ergonomics can reduce workplace injuries by up to 40%. Think of your chair as your personal support system for 8+ hours daily.
The 5-Step Chair Adjustment Process
Let’s walk through this step by step. Don’t try to adjust everything at once. Take it slow and make small changes.
Step 1: Set Your Seat Height First
Start here because everything else builds on seat height. Sit all the way back in your chair and plant both feet on the floor.
Your thighs should be parallel to the ground. If your knees are higher than your hips, raise the seat. If your feet don’t touch the floor, lower it.
The 90-Degree Rule
Aim for 90-degree angles at your knees and hips. This distributes your weight evenly and reduces pressure on your lower back.
What If Your Feet Don’t Reach?
Don’t lower the chair if it messes up your desk height. Get a footrest instead. A small box or phone book works in a pinch.
Step 2: Adjust the Backrest
Your lower back has a natural inward curve called the lumbar curve. Your chair should support this, not flatten it out.
Adjust the backrest so it fits snugly against your lower back. You should feel gentle pressure pushing your spine into its natural S-shape.
Backrest Angle Matters
Set your backrest to a slight recline of 100-110 degrees. Sitting bolt upright actually creates more pressure on your spine than a gentle lean back.
Height Adjustment for Lumbar Support
If your chair has adjustable lumbar support, position it at your belt line. This hits the sweet spot of your lower back curve.
Step 3: Position Your Armrests
Armrests should support your arms without lifting your shoulders or making you hunch forward.
Set them so your elbows bend at 90 degrees when typing. Your shoulders should feel relaxed, not pushed up or pulled down.
Width and Angle Settings
If your armrests adjust width-wise, set them so your arms hang naturally. They shouldn’t push your elbows out or squeeze them in.
When to Remove Armrests
Some armrests cause more harm than good. If they prevent you from getting close to your desk or hit the desk edge, take them off or swing them out of the way.
Step 4: Check Your Seat Depth
Sit back against the backrest. You should have 2-3 inches of space between the back of your knees and the seat edge.
Too much space means you can’t use the backrest properly. Too little space creates pressure behind your knees and restricts blood flow.
Fixed Seat Depth Solutions
Most office chairs don’t adjust seat depth. If your chair is too deep, add a lumbar pillow to bring you forward slightly.
Step 5: Test Your Setup
Sit in your newly adjusted chair for 10-15 minutes. Pay attention to pressure points or awkward angles.
Make small tweaks as needed. Your body will tell you what feels right.
Common Chair Adjustment Mistakes
I found that most people make the same few errors when setting up their chairs. Let’s fix them before they become problems.
Setting the Chair Too High
High chairs make you feel important, but they’re terrible for your body. Your feet should always touch the ground with your thighs parallel to the floor.
Ignoring the Armrests
Many people never adjust their armrests at all. Wrong height armrests cause shoulder and neck tension that builds up over time.
Sitting Too Far Forward
Using just the front edge of your seat defeats the purpose of having a backrest. Scoot back and use the full chair.
Special Considerations for Different Body Types
Not everyone fits the standard ergonomic guidelines. Here’s how to adapt the rules to your body.
Taller People Adjustments
If you’re over 6 feet tall, you might need a chair with a higher backrest and deeper seat. Standard chairs often leave your thighs unsupported.
Shorter People Adjustments
Under 5’4″? You’ll likely need a footrest even with the seat at its lowest setting. Don’t compromise your thigh support just to reach the floor.
Adjustments for Back Problems
If you have existing back issues, you might need firmer lumbar support or a slight forward seat tilt to maintain your spine’s natural curve.
When to Consider Chair Accessories
Sometimes your chair needs a little help to work properly for your body.
Lumbar Support Pillows
These fill the gap when your chair’s built-in support isn’t quite right. Look for firm, adjustable options that maintain their shape.
Seat Cushions
Memory foam cushions can add comfort to hard seats or adjust the height slightly. Avoid anything too soft that will compress and lose support.
Maintaining Your Adjustments
Chair adjustments don’t last forever. Gas cylinders lose pressure, and mechanisms wear out over time.
Check your settings monthly and readjust as needed. Your body changes too, so what worked last year might need tweaking now.
Conclusion
Getting your ergonomic office chair adjustment right doesn’t require an engineering degree. Start with seat height, support your lower back, position your armrests, and make small changes until everything feels natural. Your body will thank you with less pain and better focus throughout your workday. Remember, the best chair setup is the one that works specifically for your body and workspace.
How often should I readjust my office chair?
Check your chair settings every 2-3 months or whenever you notice discomfort. Gas cylinders can lose pressure gradually, and your posture needs may change over time.
What if my chair doesn’t have all the adjustment options mentioned?
Focus on what you can control. Even basic chairs usually adjust height and backrest angle. Use accessories like lumbar pillows or footrests to fill in the gaps where your chair falls short.
Should my chair be the same height as my desk?
No, adjust your chair height based on your body first. Your elbows should be at 90 degrees when typing, which usually means your chair seat will be slightly lower than your desk surface.
Is it normal to feel tired after adjusting my chair to proper ergonomic settings?
Yes, your muscles need time to adapt to better posture. You might feel slight fatigue for the first week as your core muscles start working properly to support your spine.
Can a properly adjusted cheap chair be better than an expensive chair set up wrong?
Absolutely. A basic chair with correct adjustments will always beat a premium chair that’s set up poorly. Focus on proper positioning first, then consider upgrading your chair if needed.