
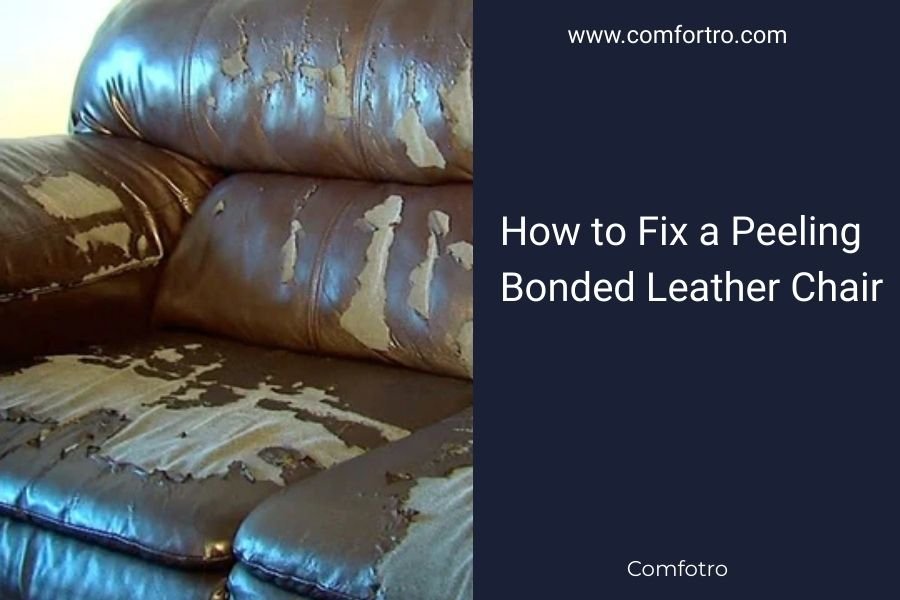
To fix a peeling bonded leather chair, clean the damaged area thoroughly, then apply leather conditioner and use a bonded leather repair kit with matching color filler and adhesive.
The key steps include removing loose pieces, cleaning with mild soap, conditioning the leather, filling cracks with repair compound, and sealing with protective coating.
What Is Bonded Leather and Why Does It Peel?
Bonded leather isn’t really leather at all. It’s made from leather scraps mixed with polyurethane and adhesives. Think of it like particle board for furniture – lots of small pieces stuck together.
This construction makes bonded leather affordable. But it also makes it prone to peeling and cracking over time. The adhesive breaks down, especially in hot or humid conditions.
Common Signs Your Chair Needs Repair
You’ll notice these warning signs before major peeling starts:
- Small cracks appearing on armrests or seat edges
- Flaky pieces coming off when you sit down
- Shiny or sticky feeling on the surface
- Color fading or looking patchy
Tools and Materials You’ll Need
Get these supplies before you start your repair project:
Basic Cleaning Supplies
- Mild dish soap or leather cleaner
- Soft cloths or microfiber towels
- Warm water in a bowl
- Vacuum with upholstery attachment
Repair Materials
- Bonded leather repair kit (available at hardware stores)
- Leather conditioner
- Fine-grit sandpaper (220-grit)
- Small brush or sponge
- Plastic scraper or putty knife
Step-by-Step Repair Process
Step 1: Clean the Damaged Area
Start by vacuuming all the loose pieces. Don’t skip this step – you need a clean surface for repairs to stick properly.
Mix a few drops of mild soap with warm water. Wipe down the entire chair with a damp cloth. Pay extra attention to areas where you sweat or oils build up.
Remove Stubborn Residue
Sometimes adhesive residue sticks around after peeling. Use your plastic scraper to gently remove it. Don’t press too hard – you might damage the good parts.
Step 2: Sand the Problem Areas
Light sanding helps the repair materials bond better. Use 220-grit sandpaper and work gently.
Sand only where the leather is peeling or cracked. You want to smooth rough edges, not create new damage.
Test in a Hidden Spot First
Try sanding under the chair or on the back where no one will see. This helps you learn how much pressure to use.
Step 3: Apply Leather Conditioner
Conditioner keeps the remaining good leather flexible. It also helps prevent more cracking while you work.
Apply a thin layer with a soft cloth. Let it soak in for about 15 minutes before moving to the next step.
Using a Bonded Leather Repair Kit
Choose the Right Color Match
Most repair kits come with several color options. Mix them to match your chair as closely as possible.
Test your color mix on a hidden area first. Natural lighting shows the truest color match.
Fill Cracks and Holes
Use the repair compound that comes with your kit. Apply it with a putty knife, working it into cracks and holes.
Don’t overfill – you can always add more later. Too much compound creates bumps that look worse than the original damage.
Let Each Layer Dry Completely
Patience pays off here. Each layer needs to cure before you add the next one. This usually takes 2-4 hours.
Sand Between Coats
Once the first layer dries, sand it lightly to smooth any rough spots. Then apply your second coat if needed.
Most repairs need 2-3 thin coats rather than one thick application.
Finishing Touches
Apply Protective Coating
Many repair kits include a protective topcoat. This seals your repair and helps it last longer.
Apply it with a clean cloth in thin, even strokes. Work quickly – it dries fast.
Final Conditioning
Once everything is dry, condition the entire chair again. This helps blend your repair with the original surface.
Allow Proper Curing Time
Don’t use your chair for at least 24 hours after finishing. I know it’s tempting, but waiting prevents your repair from failing early.
When Professional Help Makes Sense
Some damage is too extensive for DIY repairs. Consider professional reupholstering if:
- More than 30% of the chair surface is peeling
- The foam padding underneath is also damaged
- The chair has sentimental or high monetary value
- Your first repair attempt didn’t work well
Cost Comparison
| Repair Method | Typical Cost | Time Required |
|---|---|---|
| DIY Repair Kit | $15-30 | 4-6 hours |
| Professional Repair | $100-200 | 1-2 weeks |
| Full Reupholstery | $200-500 | 2-4 weeks |
Preventing Future Peeling
Regular Maintenance
Clean your chair monthly with a damp cloth. Condition it every 3-4 months to keep the material flexible.
Environmental Control
Keep your chair away from heat sources and direct sunlight. Both speed up the breakdown of bonded leather.
Maintain steady humidity levels in your office. Too dry or too humid both cause problems.
Use Chair Covers When Possible
A breathable chair cover protects against wear and spills. Remove it weekly to let the chair air out.
Conclusion
Fixing a peeling bonded leather chair takes patience, but it’s totally doable with the right approach. Clean thoroughly, use quality repair materials, and take your time with each step. Your repaired chair won’t look brand new, but it’ll be comfortable and presentable for years to come. Remember that bonded leather will eventually peel again – that’s just its nature. But with regular care and prompt repairs, you can extend its life significantly.
Can I prevent bonded leather from peeling in the first place?
You can slow down peeling by keeping the chair away from heat sources, conditioning it every few months, and cleaning up spills immediately. But bonded leather will eventually peel due to its construction – it’s just a matter of when.
How long will my repair last?
A properly done repair typically lasts 1-2 years with normal use. High-wear areas like armrests may need touch-ups sooner, while less-used areas can last longer.
Is it worth repairing an old bonded leather chair?
If the chair is comfortable and the frame is solid, repairs usually make sense when damage covers less than 30% of the surface. Beyond that, replacement often costs less than extensive repairs.
What’s the difference between bonded leather repair kits?
Higher-quality kits include better color-matching options and more durable compounds. Look for kits that include multiple repair steps rather than just a single product.
Can I use regular leather products on bonded leather?
Some leather conditioners work fine on bonded leather, but avoid products with heavy oils or waxes. These can make the surface sticky or cause more peeling. Stick with products specifically labeled for bonded leather when possible.