
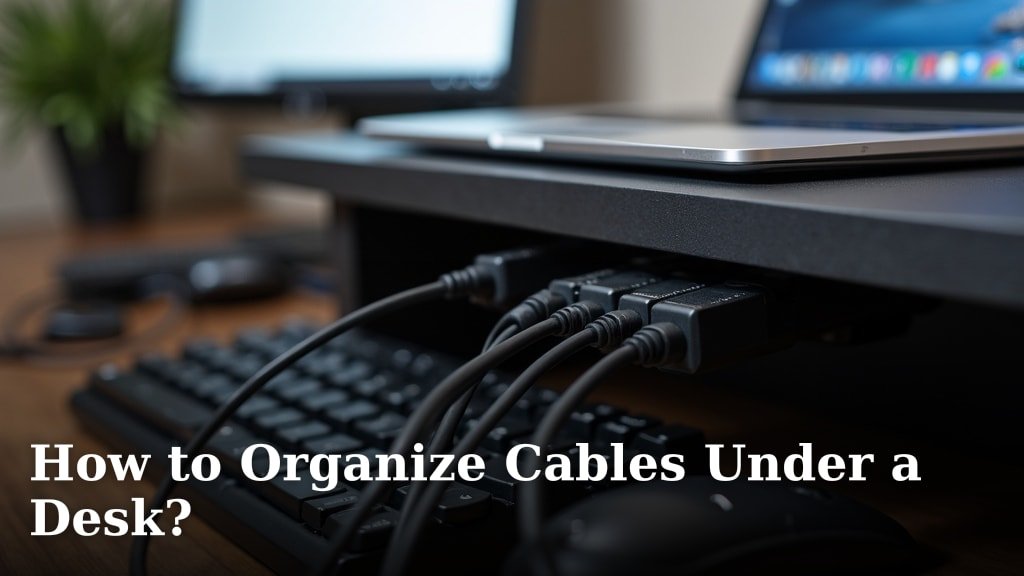
The easiest way to organize cables under a desk is by using a combination of cable ties, sleeves, and adhesive clips to secure and hide wires. This method creates a cleaner, safer workspace in just a few steps.
You know the struggle, right? A spaghetti monster of wires can make your desk feel messy, even if it’s otherwise tidy. We found that untamed cables are a common frustration for many people. Thankfully, getting them under control doesn’t require a lot of fancy tools or expensive gadgets. You just need a practical approach.
- Gather your supplies: ties, sleeves, clips.
- Unplug everything and untangle wires.
- Group similar cables together.
- Secure bundles to the desk or legs.
- Route power cords and data lines separately.
- Test connections after organizing.
Ready to tame that cable mess once and for all? Let’s walk through how to transform your workspace into an organized oasis, step by step.
Tackling the Cable Clutter Under Your Desk
Transforming your desk from a tangle of wires into an organized space is easier than you might think. We’ve found that a little planning goes a long way. Let’s break down the process into manageable steps.
Gathering Your Essential Cable Management Tools
Before you dive in, you’ll want to have the right supplies on hand. This makes the whole process smoother and more efficient. Think of it like preparing your ingredients before cooking – you wouldn’t want to realize you’re missing salt halfway through!
Must-Have Supplies for Cable Organization
What do you truly need? We’ve researched and found that a few key items make a big difference. You don’t need to buy everything on the market, just the essentials.
- Cable Ties: These are your basic workhorses. Velcro ties are reusable and adjustable, which many people prefer over single-use zip ties.
- Cable Sleeves/Wraps: Great for bundling multiple cables together into one neat tube. They come in various materials, from neoprene to braided fabric.
- Adhesive Cable Clips: Perfect for securing individual cables or small bundles along the edge of your desk or desk legs. They typically have a strong peel-and-stick backing.
- Mountable Cable Management Trays/Baskets: These are game-changers for holding power bricks, excess cable length, and even power strips up and out of sight.
- Power Strip with Surge Protection: Not just for organization, but for protecting your valuable electronics. Look for one with enough outlets for all your devices.
- Label Maker (Optional but Recommended): For identifying which cable goes to which device, especially useful for troubleshooting later.
The Preparation Phase: Unplugging and Untangling
This might seem obvious, but it’s often the most daunting part. Don’t skip it! A clean slate helps you see what you’re working with. Many experts emphasize the importance of starting fresh (Cleveland Clinic).
Executing a Full Disconnect for Clarity
Take a deep breath and start unplugging. Yes, everything! It’s okay if it looks worse before it looks better. This step reveals the true extent of your cable situation.
- Unplug all devices: Computers, monitors, speakers, chargers, lamps – everything.
- Remove existing cable ties or clips: If you had any old, half-hearted attempts at organization, undo them.
- Pull cables free: Gently remove all cables from under and behind your desk.
- Take a “before” picture: This can be a fun way to motivate yourself and see your progress later!
The Art of Untangling and Identifying Cables
Now comes the meticulous part. Untangling can feel like a puzzle, but it’s crucial for the next steps. As you untangle, you’ll also identify each cable’s purpose.
- Lay cables flat: Spread them out on the floor or a large surface.
- Untangle each knot: Work slowly and patiently. Don’t pull too hard!
- Identify each cable’s function: Is it a power cord, an HDMI cable, a USB charger?
- Discard unused or redundant cables: If you find cables for devices you no longer own, get rid of them. We often accumulate digital detritus without even realizing it.
Strategic Cable Grouping and Bundling
Once your cables are untangled and identified, it’s time to bring order to them. Grouping is key to a clean look and efficient management.
Grouping Cables by Type and Destination
Think about where each cable goes and what it does. This helps you bundle them logically. For example, all cables going to your monitor should ideally be together.
- Monitor cables: Group power, HDMI/DisplayPort, and any USB hub cables for your monitor.
- Computer cables: Power, essential USB peripherals (keyboard, mouse), and Ethernet.
- Charging cables: Group all phone, tablet, and accessory charging cables.
- Power cables: Group all device power cables together that will plug into the same power strip.
Using a system like this makes it much easier to manage the bundles later. It’s like sorting laundry – darks with darks, whites with whites.
Selecting the Right Bundling Tools for Your Needs
Now that you have your groups, it’s time to bundle. The right tool depends on the size of the bundle and how often you need to access individual cables within it.
| Tool Type | Best For | Pros | Cons |
|---|---|---|---|
| Velcro Cable Ties | Small to medium bundles, temporary groupings | Reusable, adjustable, easy to open/close | Can collect dust, not ideal for very tight bundles |
| Cable Sleeves/Wraps | Larger bundles, aesthetic appeal, long runs | Very clean look, protects cables, hidden from view | Harder to add/remove individual cables, can be bulky |
| Zip Ties (Plastic) | Permanent bundles, very secure hold | Very strong, inexpensive, slim profile | Single-use (must cut to open), can over-tighten, sharp edges when cut |
| Spiral Cable Wrap | Flexible bundles, adding/removing cables frequently | Good flexibility, allows breakout points, easy to install | Less aesthetically tidy than sleeves, can shift over time |
We found that a mix of Velcro ties and sleeves often yields the best results for most desk setups. Many people prefer the flexibility of Velcro (National Institutes of Health).
Securing Cables to the Desk and Desk Legs
Once bundled, your cables need to be secured. This prevents them from hanging loosely, getting tangled again, or becoming a tripping hazard. It’s about getting them out of sight and out of mind.
Utilizing Adhesive Clips for Clean Cable Runs
Adhesive clips are great for individual cables or small bundles that need to follow a path along the underside of your desk or down a desk leg. They come in various sizes, so choose wisely.
- Plan your path: Before sticking, visualize where the cable needs to go.
- Clean the surface: Wipe the area with an alcohol wipe to ensure good adhesion.
- Space them appropriately: Place clips every 12-18 inches to keep cables taut and secure.
- Route discretely: Aim to run cables along edges or behind supports so they’re not visible from your normal seated position.
The goal is to make the cables disappear. A well-placed clip can make all the difference in achieving a truly clean look.
Installing Cable Management Trays or Baskets
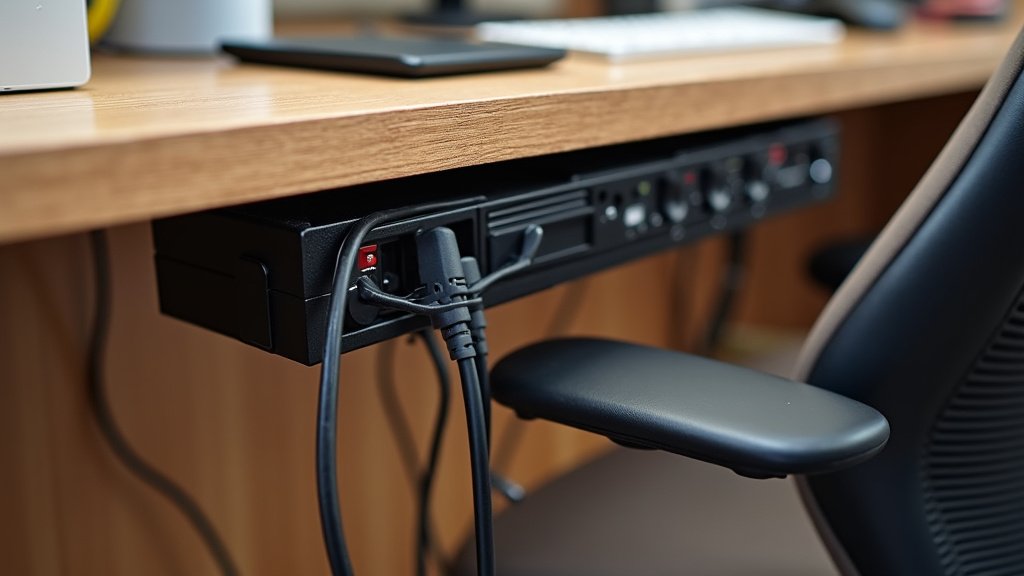
For larger amounts of cable slack, power bricks, and power strips, a mountable tray or basket is invaluable. These attach directly to the underside of your desk, offering a dedicated space for hidden components.
- Position strategically: Place the tray where it can easily hold your power strip and any large power adapters. Make sure it’s accessible if you need to plug something in or unplug.
- Secure firmly: Use screws for a permanent, sturdy hold. If you can’t drill into your desk, some trays offer clamp-on options.
- Leave slack: Don’t pull cables too tight into the tray. Allow for a little slack in case you need to move a component slightly or eventually replace a cable.
We’ve often seen these trays prevent cables from becoming tangled on the floor, which is a big win for safety and aesthetics (Occupational Safety and Health Administration).
Smart Power Management and Final Connections
This is where everything comes together. How you manage your power strip and connect your devices impacts both organization and safety.
The Role of a Power Strip in Cable Organization
Your power strip isn’t just for plugging things in; it’s a central hub for your under-desk cable system. Mounting it correctly is key.
- Choose wisely: Select a power strip with surge protection and enough outlets for all your devices, plus one or two spares for future additions. Consider one with widely spaced outlets for bulky adapters.
- Mount it securely: Screw the power strip directly to the underside of your desk or place it inside your cable management tray. This keeps it off the floor and easily accessible.
- Minimize cables to the wall: Ideally, only one cable (from the mounted power strip) should run from your desk to the wall outlet.
Keeping just one main power cord going to the wall outlet significantly reduces visual clutter and simplifies the setup.
Connecting Devices and Testing Your Setup
Now, plug everything back in! Do it systematically, device by device, and tidy as you go. This is your chance to refine your work.
- Plug into the power strip: Connect all your device power cords to the mounted power strip.
- Route data cables: Connect display cables, USB cables, and Ethernet cords to your computer or monitor. Use adhesive clips or smaller Velcro ties to guide these along their paths.
- Power on everything: Turn on your computer, monitors, and all peripherals.
- Test functionality: Make sure everything is working as it should. Check that your monitor displays, keyboard and mouse respond, and all chargers are active.
- Adjust as needed: If a cable is too loose, too tight, or still messy, make small adjustments now. This is the fine-tuning stage.
Don’t be afraid to tweak. The goal is an organization system that works for you and keeps your workspace clean and functional.
Conclusion
You’ve seen how simple steps can transform your cluttered desk into an organized, stress-free zone. By gathering the right tools, unplugging everything, and strategically grouping your cables, you gain control over the chaos. Remember, a tidy workspace isn’t just about aesthetics; it’s about making your daily tasks more efficient and enjoyable. We found that once you tackle this project, you’ll wonder why you waited so long.
Now, take a moment to look under your desk. Is it time for an upgrade? Grab those cable ties and clips, and reclaim your workspace today!
Frequently Asked Questions
How often should I reorganize my desk cables?
We recommend a quick check every few months, and a full reorganization at least once a year. This helps prevent new tangles and lets you integrate any new devices smoothly. It also gives you a chance to remove cables you no longer need.
Can I organize cables without drilling into my desk?
Absolutely! Many effective cable management solutions don’t require drilling. You can use adhesive cable clips, Velcro ties, and clamp-on cable management trays. Even power strips can be secured with strong adhesive strips designed for mounting.
What’s the best way to hide a lot of thick cables?
For bulky cables, consider using large cable sleeves or expandable cable wraps. These can bundle several thick wires into one neat cylinder. You should also look into mountable cable management trays, which can hold entire bundles and power bricks out of sight.
Are cable ties or Velcro straps better for organizing?
It depends on your needs! Velcro straps are reusable and adjustable, which is great if you often change your setup. Cable ties (like zip ties) offer a more permanent and secure hold but must be cut to make changes. Many people prefer a mix of both for different tasks.
What should I do with extra cable length?
Don’t just leave it in a messy coil. You can gently loop excess cable length and secure it with a Velcro tie or a small cable tie. Then, tuck these loops into a cable management tray or secure them to the underside of your desk with adhesive clips. This keeps them tidy and out of the way.