A photographer’s photo editing desk setup requires a large monitor (27+ inches), ergonomic chair, and proper lighting to reduce eye strain during long editing sessions.
Your desk should be spacious enough for dual monitors, a graphics tablet, and storage solutions while maintaining an organized workflow that keeps your creative tools within easy reach.
Essential Components for Your Photo Editing Workspace
Building the perfect photo editing desk setup starts with understanding what you actually need. I found that most photographers focus too much on fancy gear and forget about basic comfort.
Your workspace will make or break your editing experience. Poor setup leads to back pain, eye strain, and slower workflows. Smart setup choices boost your productivity and keep you healthy.
Monitor Selection and Placement
Your monitor is the heart of your editing setup. Size matters here – anything smaller than 27 inches will cramp your style when working with detailed images.
I researched monitor recommendations from professional photographers and found that 4K resolution gives you the sharpest image quality. You’ll see every detail in your photos without squinting.
Dual Monitor Benefits
Two monitors change everything. Keep your main editing software on one screen and reference images, tutorials, or file browsers on the other.
This setup cuts down on constant window switching. You’ll edit faster and feel less frustrated with your workflow.
Color Accuracy Requirements
Color-accurate monitors cost more but save headaches later. Look for monitors that cover 99% sRGB color space for web work or Adobe RGB for print projects.
Monitor calibration tools help maintain consistent colors. Your edited photos will match what clients see on their devices.
Desk Size and Surface Requirements
Your desk needs to be big enough for everything without feeling cluttered. I found that 60 inches wide gives most photographers enough room to work comfortably.
Depth matters too. You need at least 30 inches to position monitors at the right distance from your eyes. Closer than 20 inches causes eye strain.
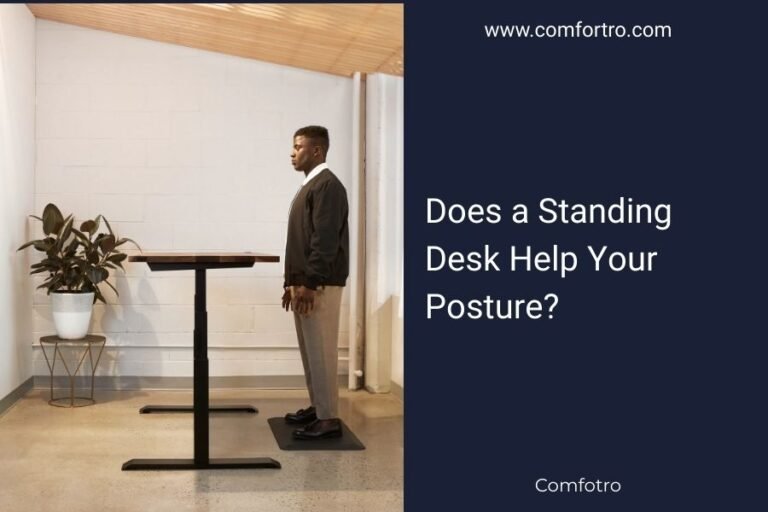
Standing Desk Options
Standing desks let you switch positions during long editing sessions. Your back will thank you after spending hours perfecting that wedding album.
Electric standing desks adjust smoothly and remember your preferred heights. Manual cranks work fine but take more effort to adjust.
Desktop Material Choices
Solid wood desktops look great and last forever. Laminate costs less and resists stains from coffee spills during late-night editing marathons.
Avoid glass tops – they create reflections that interfere with color accuracy when editing photos.
Lighting Setup for Photo Editing
Good lighting prevents eye strain and helps you see colors accurately. Natural light changes throughout the day, so you need consistent artificial lighting.
I came across research showing that bias lighting behind your monitor reduces eye fatigue. It creates a gentle glow that balances screen brightness with room lighting.
LED Strip Installation
USB-powered LED strips stick easily to the back of your monitor. Choose strips with adjustable color temperature to match your editing environment.
Cool white light works best for most photo editing work. Warm light makes colors appear yellowish and throws off your editing judgment.
Desk Lamp Positioning
Position desk lamps to avoid screen glare. Side lighting works better than overhead lights that create reflections on your monitor.
Adjustable arm lamps let you direct light exactly where you need it. Perfect for checking printed photos against your screen edits.
Storage and Organization Solutions
Photo editing creates digital and physical clutter fast. Smart storage keeps your workspace clean and your mind focused.
External hard drives need easy access but shouldn’t take up precious desk space. Wall-mounted drive docks keep them organized and within reach.
Cable Management Systems
Messy cables make your workspace look unprofessional and create tripping hazards. Under-desk cable trays hide power strips and keep cords organized.
Cable clips guide individual wires along desk edges. Your setup looks cleaner and dust doesn’t collect in cable tangles.
Digital File Organization
Create folder structures that make sense six months later. Date-based folders with client names work better than creative naming systems you’ll forget.
Cloud backup runs automatically in the background. You won’t lose work if your main drive fails during a big project.
Ergonomic Considerations
Comfort directly affects your editing quality. Pain and discomfort distract from creative decisions and slow down your work.
Your monitor’s top edge should sit at eye level. This keeps your neck in a neutral position during long editing sessions.
Chair Selection Criteria
A good chair supports your lower back and adjusts to your body size. Cheap chairs break down fast and leave you uncomfortable after a few hours.
I found that mesh-back chairs provide better airflow than leather during summer editing marathons. Your back stays cooler and less sweaty.
Keyboard and Mouse Placement
Your keyboard should sit at elbow height with your arms relaxed. Wrist rests help during long editing sessions but shouldn’t be used while actively typing.
Graphics tablets need space to move freely. Position them at the same level as your keyboard for comfortable hand transitions.
Equipment-Specific Recommendations
Different types of photography need different setups. Portrait photographers need accurate skin tone displays while landscape photographers focus on dynamic range.
| Photography Type | Monitor Priority | Storage Needs |
|---|---|---|
| Wedding | Color accuracy | High capacity |
| Landscape | High resolution | Fast access speed |
| Portrait | Skin tone accuracy | Medium capacity |
| Commercial | Large screen size | Redundant backup |
Graphics Tablet Integration
Graphics tablets make precise edits easier than mouse clicks. Position yours at a comfortable angle next to your keyboard.
Tablet size should match your monitor proportions. Large tablets with small monitors feel awkward and imprecise.
Budget Planning Strategies
You don’t need to buy everything at once. Start with a good monitor and comfortable chair, then add components over time.
Used office furniture often costs half the price of new items. Check local businesses that are closing or upgrading their equipment.
Priority Purchase Order
Buy your monitor first – it affects everything else in your setup. A great monitor on a poor desk works better than a great desk with a bad monitor.
Your chair comes second. Back pain will end your editing sessions early and hurt your productivity.
Cost-Saving Tips
Buy monitors during Black Friday sales for the biggest discounts. Many retailers clear out last year’s models at great prices.
DIY desk builds cost less than pre-made options. Kitchen countertops on adjustable legs create sturdy, affordable desk surfaces.
Conclusion
Your photo editing desk setup directly impacts your work quality and physical comfort. Start with a large, color-accurate monitor and ergonomic chair as your foundation. Add proper lighting, storage solutions, and organization systems gradually.
Remember that the best setup is one you’ll actually use consistently. Choose components that fit your space, budget, and editing style. Your future self will appreciate the time you invest in creating a comfortable, efficient workspace today.
What’s the ideal desk height for photo editing?
Your desk height should allow your elbows to rest at 90 degrees while your hands are on the keyboard. For most people, this means a desk height between 28-30 inches, though adjustable desks accommodate different body types better.
How much desk space do I need for dual monitors?
Dual 27-inch monitors need at least 60 inches of desk width for comfortable spacing. You’ll also want 30 inches of depth to position the monitors at proper viewing distance from your eyes.
Should I invest in a 4K monitor for photo editing?
Yes, 4K monitors show more detail and let you see images at higher magnification levels without pixelation. The extra screen real estate also means less scrolling and zooming during editing work.
What type of lighting reduces eye strain during long editing sessions?
Bias lighting behind your monitor creates a gentle background glow that reduces the contrast between your bright screen and dark room. LED strips with 6500K color temperature work best for accurate color perception.
How often should I calibrate my editing monitor?
Calibrate your monitor monthly for professional work or every three months for casual editing. Environmental factors like room lighting changes and monitor aging affect color accuracy over time.